Sunday, October 17, 2010

Onion Chilly Cheese Sandwiches

I think I should change the name of my blog. Its only recipes that I keep sharing with you all. But you never know when I get bored of it and turn to something else and start writing about it. For now, I will stick to same name. I have been a foodie since I was a kid. Good food really cheers me up. My father-in-law teases me "Revati ke har dard ki ek dawa - accha khana" :) :) I have been lucky with people around me too. Everyone has been a foodie like me or I have turned them into one :).

Ok, enough of my love for food. Lets get back to the main subject of this post - Onion chilly cheese sandwiches. This is a very simple recipe and obviously tasty too. Anyone can make it, even someone who has never even tried cooking. I made this one when I was making  the regular tom n cheese sandwiches but was short of tomatoes. I substituted it with onion and capsicum. And it turned out awesome.So, here is the recipe.


Ingredients:
Finely chopped onionFinely chopped green bell pepper (Capsicum)
American cheese slice or any cheese slice of your preference
White or brown bread
Black Pepper Powder
Salt
Butter

Method: Very Simple! Finely chop capsicum and onion. Mix them together. Take a slice of bread, spread the onion and capsicum evenly, sprinkle some salt and pepper, add a cheese slice and close the sandwich with another slice of bread. Grease the pan with little butter and toast the sandwiches on both sides. While toasting, press the sandwich with a flat spatula so that the cheese melts and the breads bind well.And the sandwich is ready!  If you have the sandwich maker, it makes it all the more easy!  Eat it with tomato ketchup...Yummmy! Here are a few pictures for clear idea-


These sandwiches are so simple to make and are ready within 10 minutes. This recipe post is for  all my friends, who do not like elaborate cooking. Do try it and let me know.  Makes an excellent breakfast or brunch on a lazy Saturday noon with a cup of coffee! Enjoy!

Monday, October 11, 2010

kachori - learn from my mistake!

Last week it had been raining almost everyday in Los Angeles and the weather was simply awesome. That reminded me,  I hadn't put up my frying pan to use since a long time. The weather was just right to get it out and make something mouth watering to go with a cup of masala chai.

The recipe  that I am going to share with you all is a gujarati style kachori. It is not the kind you get in the market or the chat homes. As usual I followed Mr. Vah chef. Here is the recipe. In the video, the chef has used some different beans called 'lilva' in gujarati for the filling which I am not aware about. (and my Gujju Husband didn't know either :-)).  I used tender green chana instead. You can use whole moong daal, green peas or any other kind of green lentils for that matter. And rest I followed the chef exactly. However, everything usually doesn't  go right the first time I make it.

Here is the pic of the perfect kachoris. Nothing went wrong with these. It tasted perfect too.


Now, I don't exactly know what went wrong with these as you can see below. 
Ain't they look funny? Like upside down mushrooms. I don't know what went wrong with these exactly. I presume, I put less oil in the frying pan and my bigger sized kachoris weren't fully immersed in it. Hence, the air captured inside rose like a bubble, because of which I couldn't even turn them in the pan once cooked at one side. Because of the air bubble, It would topple back to the same side again. If anyone of you knows the reason for this blooper, do let me know. I would really appreciate it.

Now, I would certainly not throw them away. Working in an IT company has taught me some brilliant ways of hiding your mistake. Its always better to package them in attractive wrapping :). And that is what I did. I removed the top uncooked part. Topped the kachori with finely chopped onion, green chatni, tamarind chatni, a little sweetened yogurt and chat masala. Here is the pic-

And here is my mini kachori chat! Perfect in taste. Infact my husband loved it more than the plain ones. Made me make more of it with the other kachoris. What more could I ask for!

Honestly, I never ever imagined I would make these kind of dishes which I always thought would be too complicated to make and I could never get them right. But, trust me its not that difficult at all. And I made mistakes too. But, that is how we learn, isn't it?


Thursday, October 7, 2010

Twinkle :)

I want all of you to meet my new friend - Twinkle!

One day, I was cleaning my patio area on a bright sunny day enjoying the tender heat. I must say, California summer is so beautiful. One look at the bright blue sky makes you feel fresh and motivated. Anyways as I was cleaning, I saw her in my backyard happily going up and down the trees, running in the grass in search of tit bits she could enjoy.  I don't know,  what struck me, I went into the kitchen and got some pistachios (those were the only nuts I had) and called out to her 'tch tch tch tch'. Her ears perked up and she came running towards me. Now, those who know me well will agree to this. I am scared of the tiniest of animal on earth. Even the cutest puppy for that matter. I threw the pistachios in her direction and immediately got inside the house watching her through the glass door. She happily took one in her hand, broke open the shell and started nibbling at the nut. I gave her some more and she happily ate all. That day, I gave her a name -'Twinkle' as she has very twinkling eyes. Here is her pic!


Generally if you observe, squirrels are very timid. It is so timid, that it won't even eat if you are watching. It will turn its face and eat or run the moment you try to go near. But Twinkle is a dare devil in her own kind. She will scratch at the door if she wants more food. Now, she even recognizes the home, and would come running(or rather hopping) if she sees me or Pathik in the patio. She likes bread, apple, banana but her favourite is pistachio. Reminds me of the squirrel in Ice Age- one of my favourite animated character :).

Its raining since 2-3 days and didn't see her in the backyard. I hope she comes soon. It would be fun making her fat :D.

Sunday, October 3, 2010

Hot cross buns!

Hot cross buns!
Hot cross buns!
One a penny, two a penny    
Hot cross buns!


A nursery rhyme I used to really like when I was a kid. The reason was the illustration in the poem book showing a fatso baker with the baker's hat and a tray full of buns calling at the kids. Well, this nursery rhyme is on my head since morning. The reason is absurd; my husband wanted me to make pav bhaji today. Pav bhaji is something he really enjoys. But we used to always crave for the buns i.e. pav that we get in India. The buns in US are a little sweeter. So I decided to bake the buns myself. And that is why the rhyme playing continuously in my head since I started making them.

 Now a days, baking is my new found craze. Its like magic to me. I keep putting on the oven light, to see whats happening inside. So don't be surprised if you see more of baking recipes on my blog.This post is for all my readers who like to experiment with their culinary skills. Well, I simply followed the recipe on youtube by my favourite the vah chef. He truly inspires me to cook and whenever I have tried his dishes, they have really come out well.

So, here is the link for all of you:
Vah chef's Pav Recipe

Now let me share with you my experience during baking these buns.  Firstly, its a long process (almost 4 hours) so be patient. The second important thing is to make sure to  knead the dough really well. I must say play with it for at least 10 minutes before adding the butter and then again for 5 to 10 minutes. And even if the shape of the bun is not exactly as that of the chef's, don't worry, they still come out well when done. Thirdly, I used milk wash for the buns. After the baking time is over, if you do not see the slight golden color on the top, just put the oven on broil for one minute and it will do the job.( Thanks to Patty, he gave me this idea.). Here are a few pictures!


I will not say that mine came out the best of its kind, but not bad for the first time . They were soft and fluffy. And the best and important part is I enjoyed making them and yes eating them too. Trust me, the aroma of freshly baked bread intoxicates you. If ever you try making them, do send me pictures and share your experience. Happy baking!


Friday, October 1, 2010

Thetcha!

Yesterday, I was talking to my friend Shveta from engineering days. And we both were getting all nostalgic about our hostel days. Bunking lectures, eating vada pav and chai from anna's canteen, spending hours simply sitting at the amphitheater, late mid night snacks during submissions and many more such memories. Hostel days was so much fun.

Considering the girls' hostel schedule, the gates used to close at 9.00 pm and we weren't allowed to step out after that. Hence, we had to stock up our rooms with food. Our mid night snacks included a lot of bizarre stuff, maggi cooked in small electric water boilers, marie biscuits with jam, bhel, and various tit-bit snacks from everyone's home. And our all time favorite was bread,butter and thetcha!

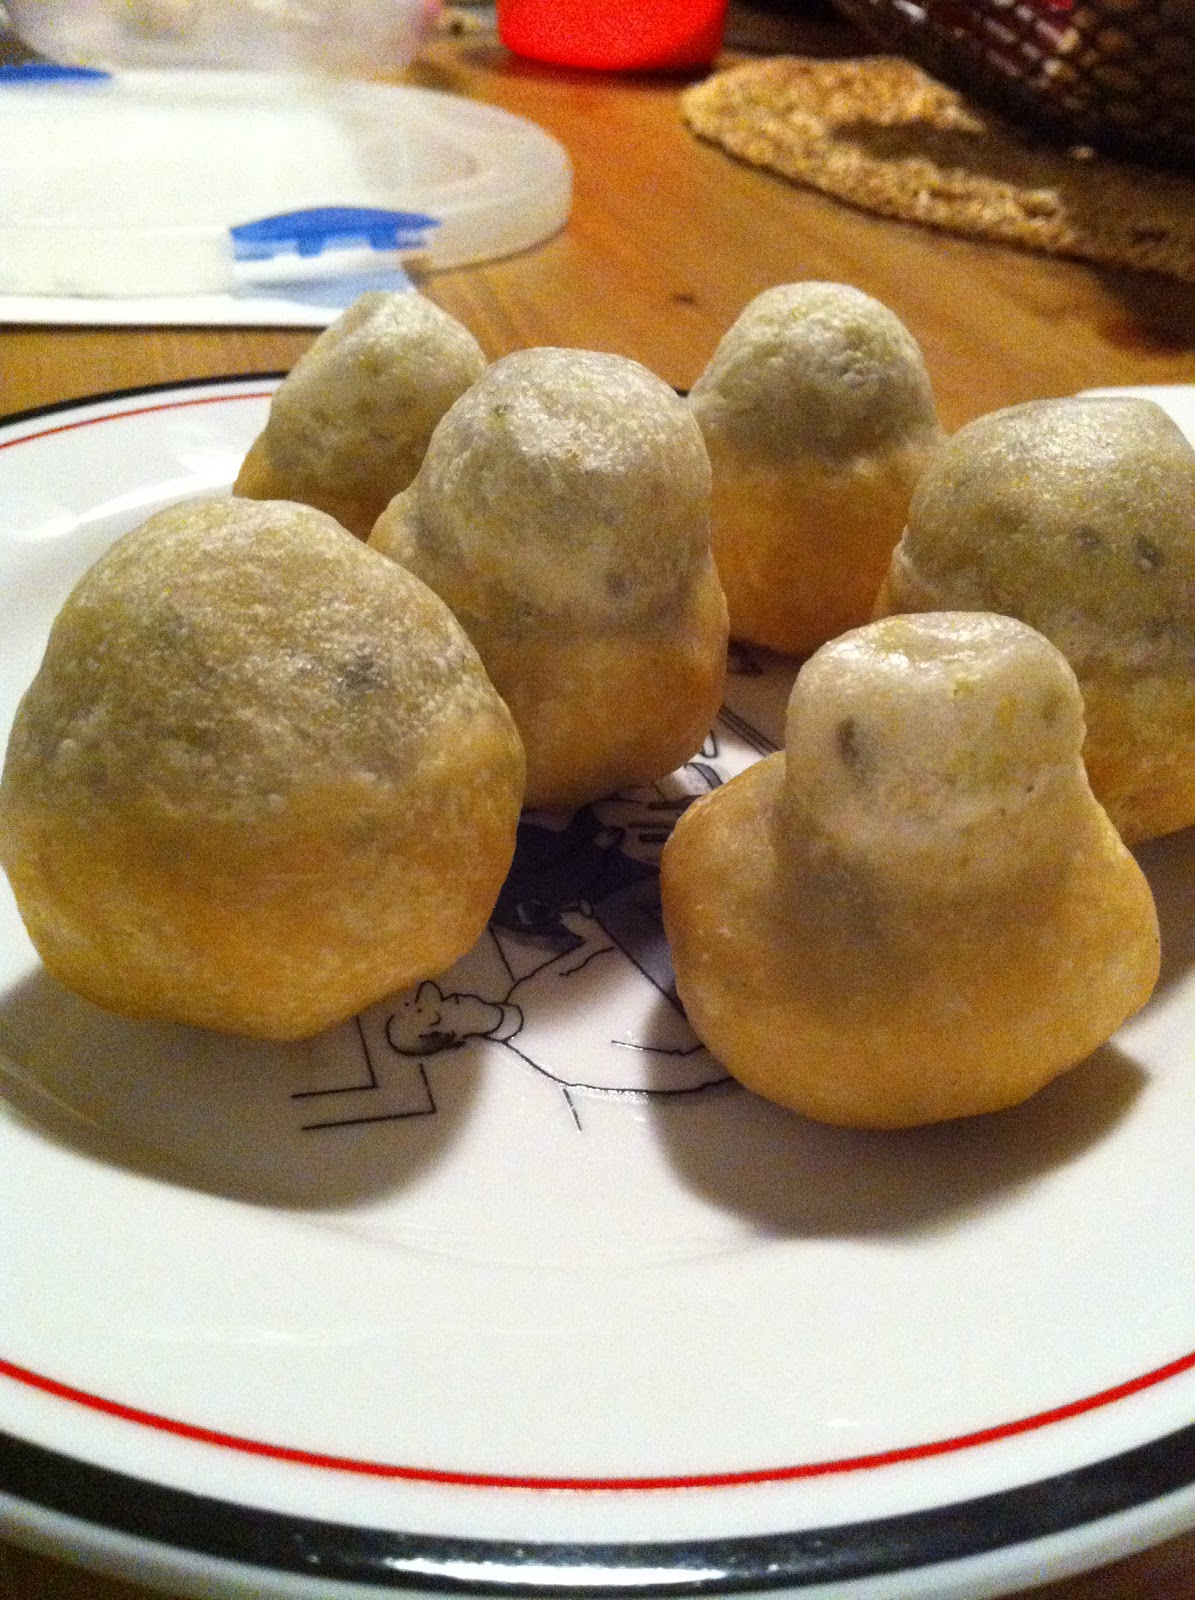
Now thetcha is a kind of hot green chatni or dip famous amongst maharashtrians, and I used to get it from my Nani every time I would visit her. Well coming back to the point (before I write pages drifting away in memories), Shveta wanted me to post the recipe of it on my blog. Instantly I called up my granny and she shared the recipe with me. And here it is for all of you, specially dedicated to all my hostel friends!!

For thetcha, you need:

Green Chillies - 4 to 5(for my American residing friends, use more as the chillies we get here are not very hot.)
Garlic - 8 to 10 petals
Coriander or Cilantro-  one bunch
Turmeric
Salt
Cooking oil


Method: Pour around 4 to 5 tablespoons of oil in a frying pan. On a medium-high flame let it heat up for a minute or two. Now, we need to fry the cilantro. I know it sounds weird  but that's the main taste maker. Make sure that the cilantro is dry. It should not be crispy fried. The right way is to just dip the leaves in the hot oil, keep it in for 5 to 6 seconds and remove it so that it retains the green color.


Once done with the cilantro, in the remaining oil, put the garlic and green chillies. You may put a lid on, as chillies tend to splutter the oil a lot. Let it cook for one minute or till they are all slight brown.


Once all the frying is done, grind it all in the mixer to a fine paste. Add salt to taste and a pinch of turmeric so it retains the green color for long. Add the remaining oil to the mixture as it acts as a preservative. And the thetcha is ready!!


Thetcha lasts at least for a week or two when stored in the refrigerator. You can mix a spoonful with butter or plain cheese  and it makes an awesome spread for breads, toasts, parathas etc. Its an excellent salad dressing. Get the lettuce, cucumber, carrots, tomatoes out of the fridge, dice them, add a dollop of thetcha, squeeze in a lemon, mix it well and yummy salad is ready. Also, for working folks, thetcha is a quick fix taste maker  for all dry sabzis like potatoes, okra, cabbage, cauliflower etc.

I hope you all enjoy reading my post as much as I did while arranging it for you. Do try it and let me know how it comes out. Finally its friday! Have a happy weekend!